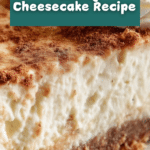
No-Bake Pudding Cheesecake Recipe
Introduction
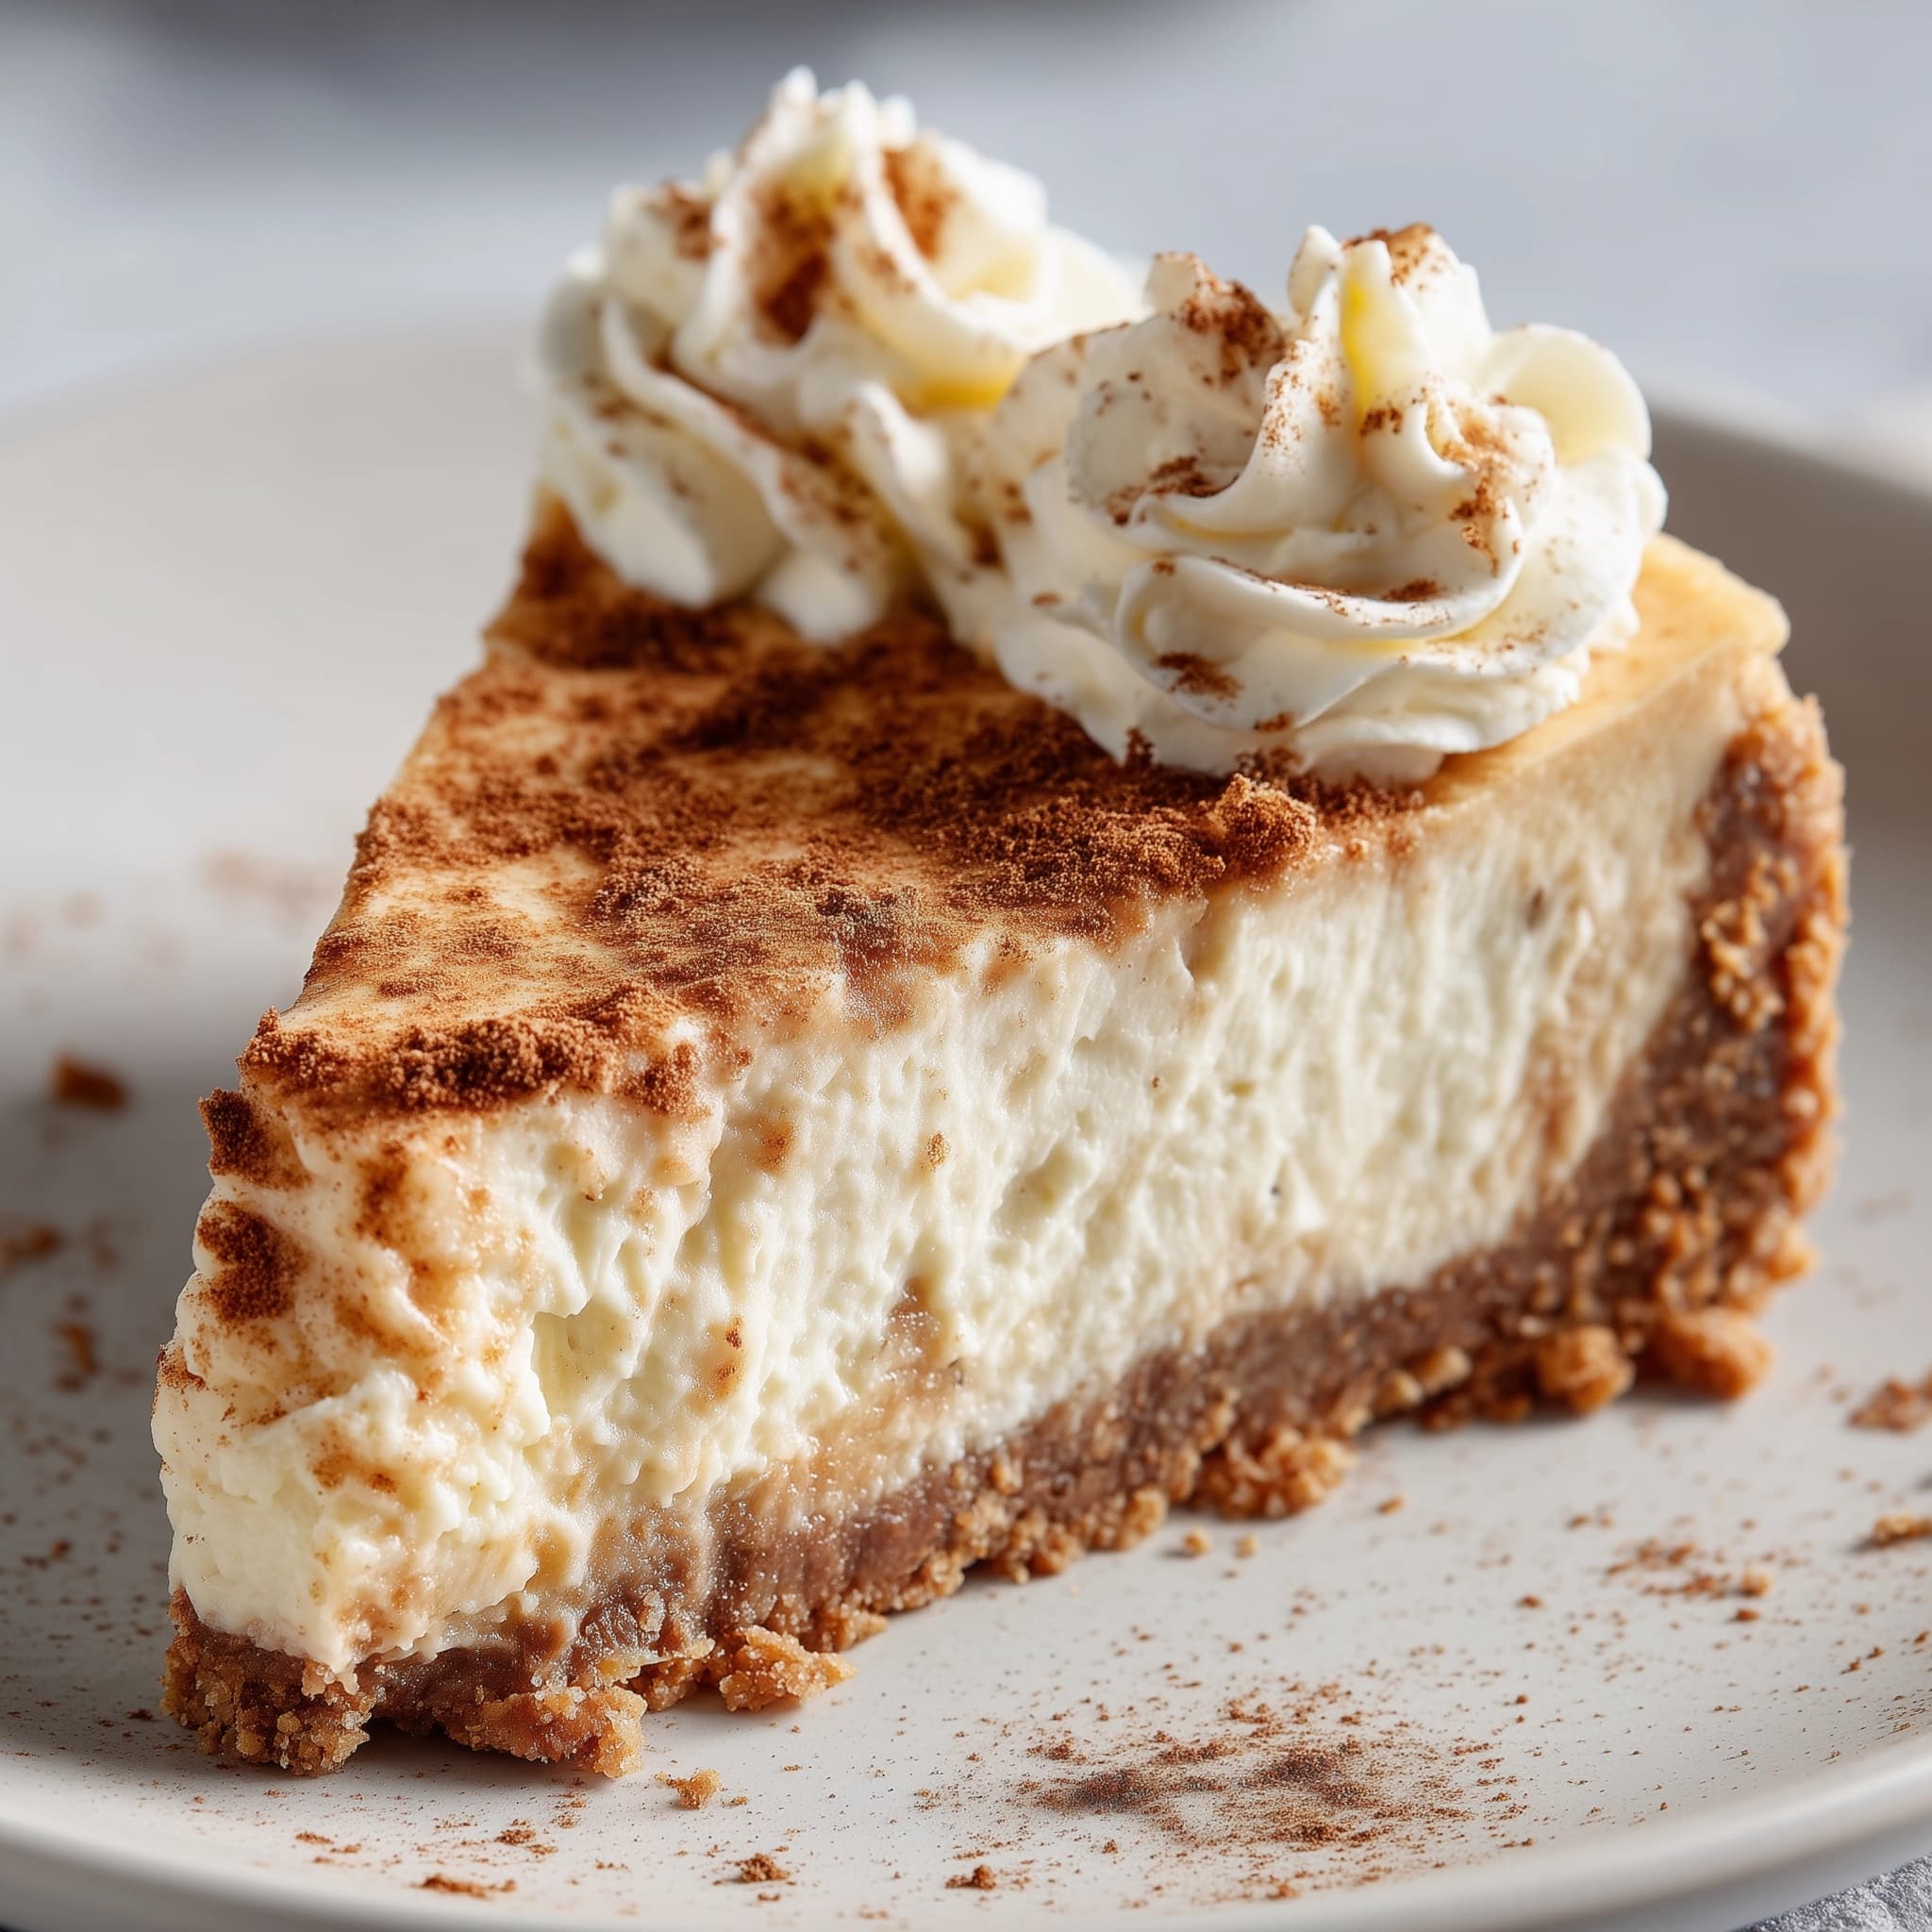
This No-Bake Pudding Cheesecake is a quick and creamy dessert perfect for warm days or when you want a fuss-free treat. With a smooth pudding filling set in a crunchy graham cracker crust, it’s irresistibly delicious and ready in minutes.
Ingredients
- 8 oz cream cheese, softened
- 1 package instant pudding mix (3.4 oz), any flavor
- 2 cups cold milk
- 1 graham cracker crust (9-inch)
- 1 cup whipped topping
Instructions
- Step 1: In a large bowl, beat the softened cream cheese until smooth and creamy.
- Step 2: Add the instant pudding mix to the cream cheese and pour in the cold milk. Whisk everything together until fully combined and thickened.
- Step 3: Pour the pudding and cream cheese mixture into the graham cracker crust, spreading it evenly.
- Step 4: Top the cheesecake with the whipped topping, smoothing it over the surface.
- Step 5: Refrigerate for at least 2 hours to allow the filling to set before serving.
Tips & Variations
- For a fruit twist, fold fresh berries into the pudding mixture before pouring into the crust.
- Use flavored pudding mixes like chocolate or butterscotch for a different taste experience.
- To enhance the crust, sprinkle some crushed nuts or chocolate chips before adding the filling.
Storage
Store the cheesecake covered in the refrigerator for up to 3 days. Keep it chilled until ready to serve. If needed, let it sit at room temperature for about 10 minutes before slicing for easier cuts.
How to Serve
Serve this delicious recipe with your favorite sides.
FAQs
Can I use regular milk instead of cold milk?
Yes, regular milk works fine, but using cold milk helps the pudding mix set faster and achieve the right texture.
Do I have to use a graham cracker crust?
No, you can use other pre-made crusts like chocolate cookie crust or even make your own crushed cookie base for variation.
PrintNo-Bake Pudding Cheesecake Recipe

A creamy and delightful no-bake pudding cheesecake that combines the richness of cream cheese with the smooth texture of pudding, all set in a crunchy graham cracker crust. Perfect for a quick dessert that requires no oven time and a cool, refreshing finish.
- Prep Time: 15 minutes
- Cook Time: 0 minutes
- Total Time: 4 hours 15 minutes
- Yield: 8 servings 1x
- Category: Dessert
- Method: No-Cook
- Cuisine: American
- Diet: Vegetarian
Ingredients
Cheesecake Mixture
- 8 oz cream cheese, softened
- 1 package (3.4 oz) instant pudding mix (vanilla or flavor of choice)
- 2 cups cold milk
Crust and Topping
- 1 prepared graham cracker crust (9-inch)
- 1 cup whipped topping (such as Cool Whip)
Instructions
- Prepare Cheesecake Filling: In a large mixing bowl, beat the softened cream cheese until smooth and creamy. Gradually add the instant pudding mix and cold milk, whisking until the mixture is fully combined and starts to thicken.
- Fill the Crust: Pour the creamy pudding and cream cheese mixture into the prepared graham cracker crust, spreading it out evenly to the edges.
- Add Topping: Spread the whipped topping evenly over the cheesecake filling to create a light, fluffy layer on top.
- Chill: Refrigerate the cheesecake for at least 4 hours, or until fully set and firm enough to slice and serve.
- Serve: Once chilled and set, slice and enjoy your no-bake pudding cheesecake as a refreshing dessert.
Notes
- Ensure the cream cheese is at room temperature for easier mixing and a smoother texture.
- Use instant pudding mix for quick thickening; regular pudding mix will require cooking.
- For best results, chill the cheesecake overnight to allow flavors to meld.
- Variations can include fruit toppings or different flavored pudding mixes.
- Use a hand mixer or stand mixer for better mixing consistency.
Keywords: no bake cheesecake, pudding cheesecake, easy dessert, quick cheesecake, cream cheese dessert