
Air Fryer Parmesan Garlic Tortellini Recipe
Introduction
Air fryer tortellini is a quick and delicious snack or appetizer that combines crispy texture with cheesy, savory flavors. Using refrigerated cheese tortellini, this recipe transforms a simple pasta into a golden, flavorful bite that’s perfect for sharing or enjoying on your own.
Ingredients
- 9 ounces refrigerated cheese tortellini
- 2 ½ tablespoons extra virgin olive oil
- 1 teaspoon garlic powder
- 1 teaspoon Italian seasoning
- ¾ teaspoon kosher salt
- ½ teaspoon fresh cracked black pepper
- ¾ cup freshly grated parmesan cheese (divided: ½ cup and ¼ cup)
- 1 teaspoon fresh parsley, chopped
Instructions
- Step 1: Bring a medium saucepan of water to a boil. Add the cheese tortellini and cook for 4 minutes. Drain and rinse with cold water. Make sure all the water is drained so the oil, spices, and parmesan coat the tortellini evenly.
- Step 2: Place the drained tortellini in a medium bowl and drizzle with olive oil. Stir gently to coat all the pieces.
- Step 3: Sprinkle garlic powder, Italian seasoning, kosher salt, black pepper, and ½ cup of the grated parmesan over the tortellini. Mix until the tortellini is fully coated with the seasoning and cheese.
- Step 4: Preheat the air fryer to 360°F if your model requires preheating. Check your owner’s manual for specific guidance.
- Step 5: Spray the air fryer basket with nonstick cooking spray.
- Step 6: Arrange the seasoned tortellini in a single layer in the basket. If needed, cook in batches to avoid overcrowding.
- Step 7: Air fry for 6 minutes, then shake the basket to toss the tortellini. Continue cooking for another 5 to 6 minutes until the tortellini turns golden brown and crispy.
- Step 8: Transfer the cooked tortellini to a serving dish. Sprinkle with the remaining ¼ cup of parmesan and chopped fresh parsley before serving.
Tips & Variations
- Use freshly grated parmesan for the best flavor and texture—it melts and crisps better than pre-grated cheese.
- Try adding a pinch of red pepper flakes with the seasonings for a spicy kick.
- If you like a crunchier texture, air fry for an additional 1-2 minutes but watch closely to prevent burning.
- Swap fresh parsley for basil or oregano to vary the herb flavor.
Storage
Store leftover air fryer tortellini in an airtight container in the refrigerator for up to 2 days. Reheat in the air fryer at 350°F for 3 to 4 minutes to regain crispiness. Avoid microwaving if possible, as it may make the tortellini soggy.
How to Serve
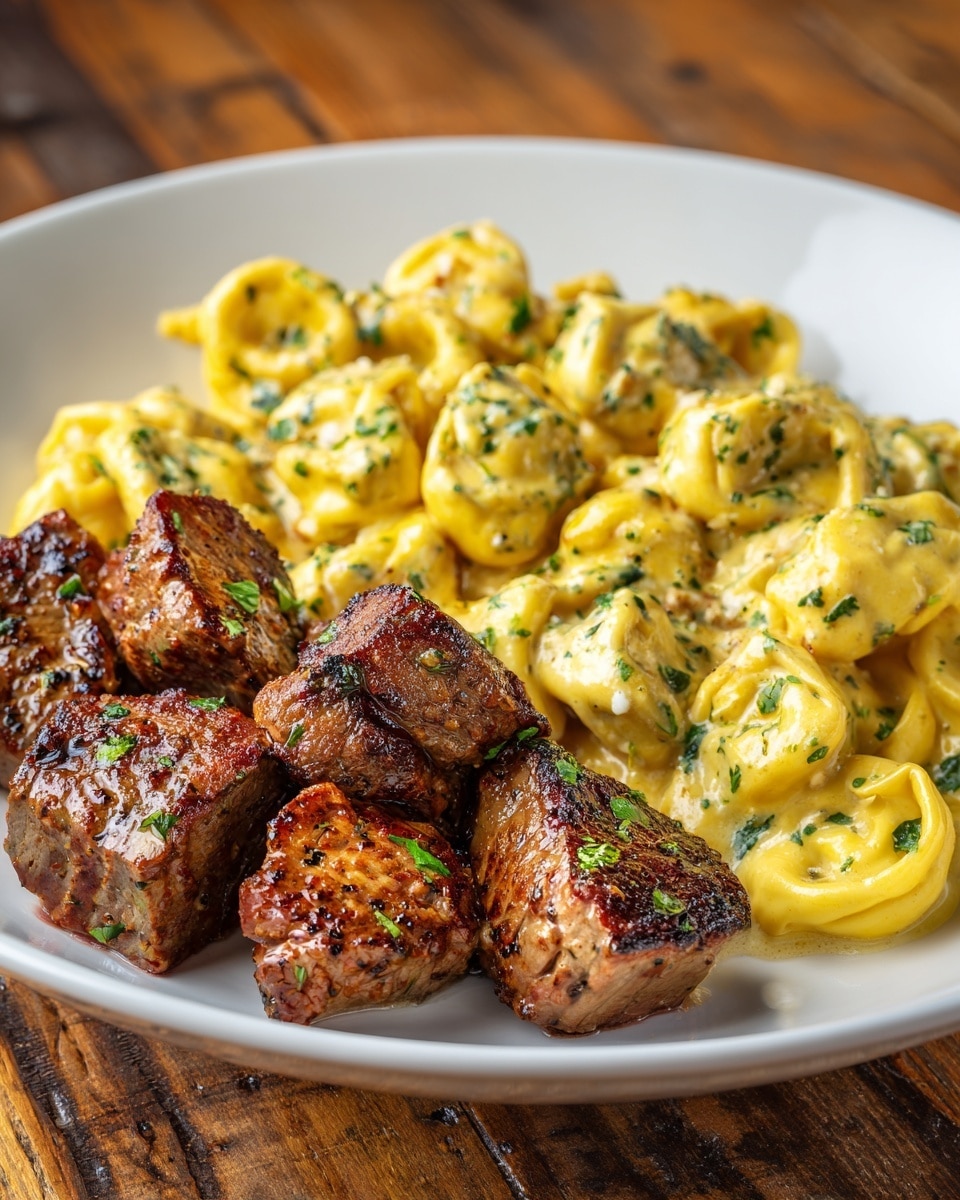
Serve this delicious recipe with your favorite sides.
FAQs
Can I use frozen tortellini instead of refrigerated?
Yes, you can use frozen tortellini. Cook it according to the package instructions, then follow the air frying steps to crisp it up. Just ensure it is fully thawed and well drained before seasoning.
What if my air fryer basket is small?
Simply cook the tortellini in batches to avoid overcrowding. Overcrowding can prevent them from crisping evenly.
PrintAir Fryer Parmesan Garlic Tortellini Recipe

This Air Fryer Tortellini recipe transforms simple refrigerated cheese tortellini into a crispy, golden snack or appetizer with the perfect blend of garlic, Italian seasoning, and parmesan cheese. Using an air fryer keeps the tortellini light and crunchy without the need for deep frying, making it an easy, delicious treat ready in under 20 minutes.
- Prep Time: 5 minutes
- Cook Time: 12 minutes
- Total Time: 17 minutes
- Yield: 3 servings 1x
- Category: Appetizer
- Method: Air Frying
- Cuisine: Italian
- Diet: Vegetarian
Ingredients
Ingredients
- 9 ounces refrigerated cheese tortellini
- 2 ½ tablespoons extra virgin olive oil
- 1 teaspoon garlic powder
- 1 teaspoon Italian seasoning
- ¾ teaspoon kosher salt
- ½ teaspoon fresh cracked black pepper
- ¾ cup freshly grated parmesan cheese (divided: ½ cup and ¼ cup)
- 1 teaspoon fresh parsley, chopped
Instructions
- Cook Tortellini: Bring a medium saucepan of water to a boil. Add the cheese tortellini and cook for 4 minutes. Drain and rinse with cold water to stop the cooking process and remove moisture, ensuring the oil and seasonings adhere properly.
- Coat with Olive Oil: Transfer the drained tortellini to a medium bowl and drizzle with olive oil. Stir gently to ensure all pieces are thoroughly coated with the oil.
- Season Tortellini: Sprinkle garlic powder, Italian seasoning, kosher salt, cracked black pepper, and ½ cup of the grated parmesan cheese over the oiled tortellini. Stir well until each piece is evenly coated with the seasonings and cheese.
- Preheat Air Fryer: If your air fryer requires preheating, preheat it to 360°F according to manufacturer instructions.
- Prepare Air Fryer Basket: Lightly spray the air fryer basket with nonstick cooking spray to prevent sticking.
- Arrange Tortellini: Place the seasoned tortellini in a single layer inside the air fryer basket. Work in batches if your air fryer is small to ensure even cooking.
- Air Fry Tortellini: Cook the tortellini at 360°F for 6 minutes. Shake the basket to toss the tortellini, then cook for an additional 5 to 6 minutes until they turn golden brown and crispy.
- Garnish and Serve: Transfer the cooked tortellini to a serving dish. Sprinkle with the remaining ¼ cup grated parmesan and fresh chopped parsley for a burst of flavor and color.
Notes
- Ensure tortellini is well-drained after boiling for the best crispiness when air frying.
- You can adjust seasoning quantities to taste, especially the salt and pepper.
- If your air fryer basket is small, cook the tortellini in batches to avoid overcrowding, which would reduce crispiness.
- Use freshly grated parmesan for better flavor compared to pre-grated versions.
- This dish makes a great appetizer, snack, or side dish and pairs well with marinara sauce for dipping.
Keywords: air fryer tortellini, crispy tortellini, easy appetizer, Italian snack, cheese tortellini recipe