Decadent Chocolate Ice Cream Sandwich Cake Recipe
Introduction
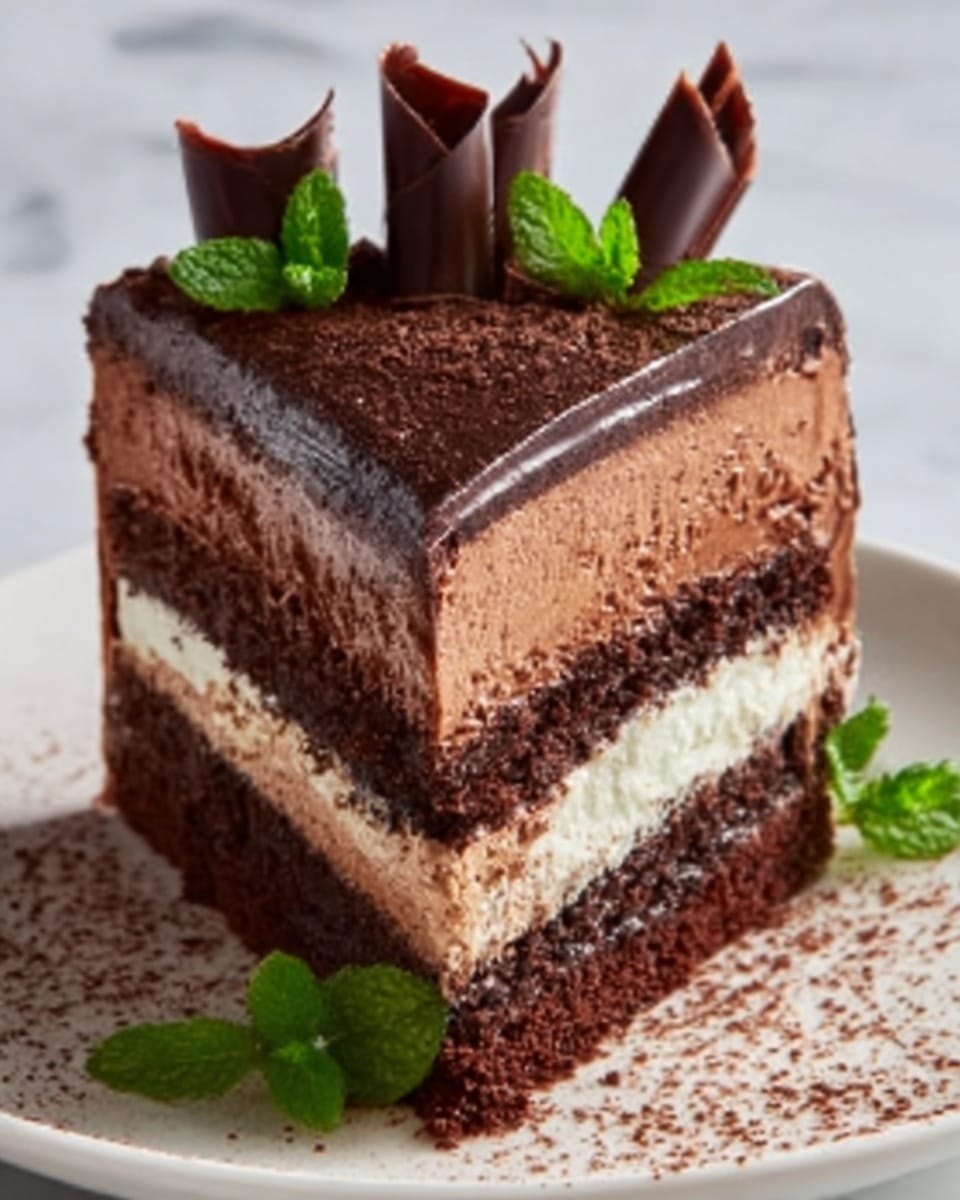
Indulge in this decadent chocolate ice cream sandwich cake that’s perfect for any celebration or a special treat. Layers of rich chocolate ice cream and classic ice cream sandwiches come together with whipped cream and chocolate sauce for a delightful dessert everyone will love.
Ingredients
- Chocolate ice cream
- Ice cream sandwiches
- Chocolate sauce
- Whipped cream
- Sprinkles or nuts (optional)
Instructions
- Step 1: Prepare your base by arranging a layer of chocolate ice cream sandwiches in a rectangular or square baking dish, fitting them snugly together to form a solid layer.
- Step 2: Let the chocolate ice cream soften at room temperature for about 10 minutes, then spread a generous, even layer over the ice cream sandwiches.
- Step 3: Add another layer of ice cream sandwiches on top of the ice cream layer, pressing gently to ensure they stick.
- Step 4: Repeat layering softened chocolate ice cream and ice cream sandwiches until you reach your desired height, typically three layers of sandwiches and two layers of ice cream.
- Step 5: Spread a thick layer of whipped cream over the final sandwich layer to finish the cake.
- Step 6: Drizzle chocolate sauce over the whipped cream, then sprinkle with your choice of sprinkles or nuts for added texture and decoration.
- Step 7: Cover the cake with plastic wrap and freeze for at least 4 hours, or until firm.
- Step 8: When ready to serve, cut the cake into squares or rectangles and enjoy.
Tips & Variations
- For extra flavor, add a layer of crushed cookies or brownie bits between the ice cream layers.
- Swap chocolate ice cream for mint or vanilla to create different flavor combinations.
- Use toasted nuts like almonds or pecans for a crunchy topping instead of sprinkles.
Storage
Store the cake tightly covered in the freezer for up to 1 week. To serve, let it sit at room temperature for 5–10 minutes before slicing to make cutting easier.
How to Serve
Serve this delicious recipe with your favorite sides.
FAQs
Can I make this cake ahead of time?
Yes, this cake is perfect for making ahead. Just be sure to freeze it well, and it will keep its shape and flavor for several days.
What if I don’t have whipped cream?
You can use a store-bought whipped topping or even a layer of softened ice cream as a substitute, though whipped cream adds a nice light finish.
PrintDecadent Chocolate Ice Cream Sandwich Cake Recipe

This Decadent Chocolate Ice Cream Sandwich Cake is a luscious layered dessert that combines chocolate ice cream sandwiches, smooth chocolate ice cream, whipped cream, and a drizzle of chocolate sauce. Perfect for satisfying your chocolate cravings, this no-bake cake is easy to assemble and freeze, creating a delightful treat with textures from creamy ice cream and crunchy sprinkles or nuts.
- Prep Time: 15 minutes
- Cook Time: 0 minutes
- Total Time: 4 hours 15 minutes
- Yield: 8 servings
- Category: Dessert
- Method: No-Cook
- Cuisine: American
Ingredients
Base Layer
- Ice Cream Sandwiches – about 12 pieces
Chocolate Ice Cream Layer
- Chocolate Ice Cream – 1 quart (softened)
Topping and Decoration
- Whipped Cream – 1 cup
- Chocolate Sauce – ¼ cup
- Sprinkles or Nuts – 2 tablespoons
Instructions
- Prepare Your Base: Arrange a layer of chocolate ice cream sandwiches snugly together in a rectangular or square baking dish to form a solid foundation for the cake.
- Layer with Ice Cream: Allow the chocolate ice cream to soften at room temperature for about 10 minutes. Spread a generous and even layer of softened chocolate ice cream over the base layer of ice cream sandwiches.
- Add More Sandwiches: Place another set of ice cream sandwiches on top of the chocolate ice cream layer. Gently press them down to make sure they adhere well.
- Repeat Layers: Alternate spreading chocolate ice cream and layering ice cream sandwiches, typically creating about three layers of sandwiches and two layers of ice cream, until you reach your desired height.
- Finish with Whipped Cream: Spread a thick, even layer of whipped cream over the final layer of ice cream sandwiches for a smooth and creamy finishing touch.
- Decorate: Drizzle chocolate sauce evenly over the whipped cream and sprinkle with your choice of sprinkles or nuts to add color, texture, and flavor.
- Freeze: Cover the assembled cake tightly with plastic wrap and freeze it for at least 4 hours or until firm to allow all layers to set properly.
- Serve: Remove from freezer and slice the cake into squares or rectangles. Serve immediately and enjoy a decadent chocolate treat.
Notes
- Let the chocolate ice cream soften slightly before spreading to ensure even layers and easier spreading.
- You can customize the toppings with different nuts or sprinkles based on your preference or dietary needs.
- For easier cutting, let the cake sit at room temperature for a few minutes before slicing.
- Make sure to tightly cover the cake when freezing to prevent ice crystals from forming.
- This cake works well as a make-ahead dessert for parties and special occasions.
Keywords: chocolate ice cream sandwich cake, no bake dessert, ice cream cake, layered ice cream dessert, chocolate dessert